
Kar-men Cheng
Kar-men is an artist whose work explores how identities define themselves in dialogue, and the cultural, phenomenological, and practical barriers between different forms of interaction. She loves playing with questions and stories, and getting to know people in all sorts of ways. This year her goal is to see what slowing down can do for her art– a steady mind, a steady hand, and neater marks.

This residency introduced me to a medium and, in this process of exploring it, a journey of patience, discipline (I was born with careless/carefree fingers), and movement. I learnt how different substances repelled or moulded each other, how colours ran over lines I drew other colours completely overtaking any shapes — I got to know a LOT of blobs. What was great about batik is that it forces me to pause — at least 8 hours to be exact — as we have to wait for the dye to activate. So, I had to wait till the next time I was at the studio in order to make my next move. Outside my practice, I’m training myself to be less impulsive and it’s so nice that this process of making batik is also calming my impulses. Life experiences always feed my practice but it’s usually the conceptual aspect of it. This time it feels like a spiritual alignment.


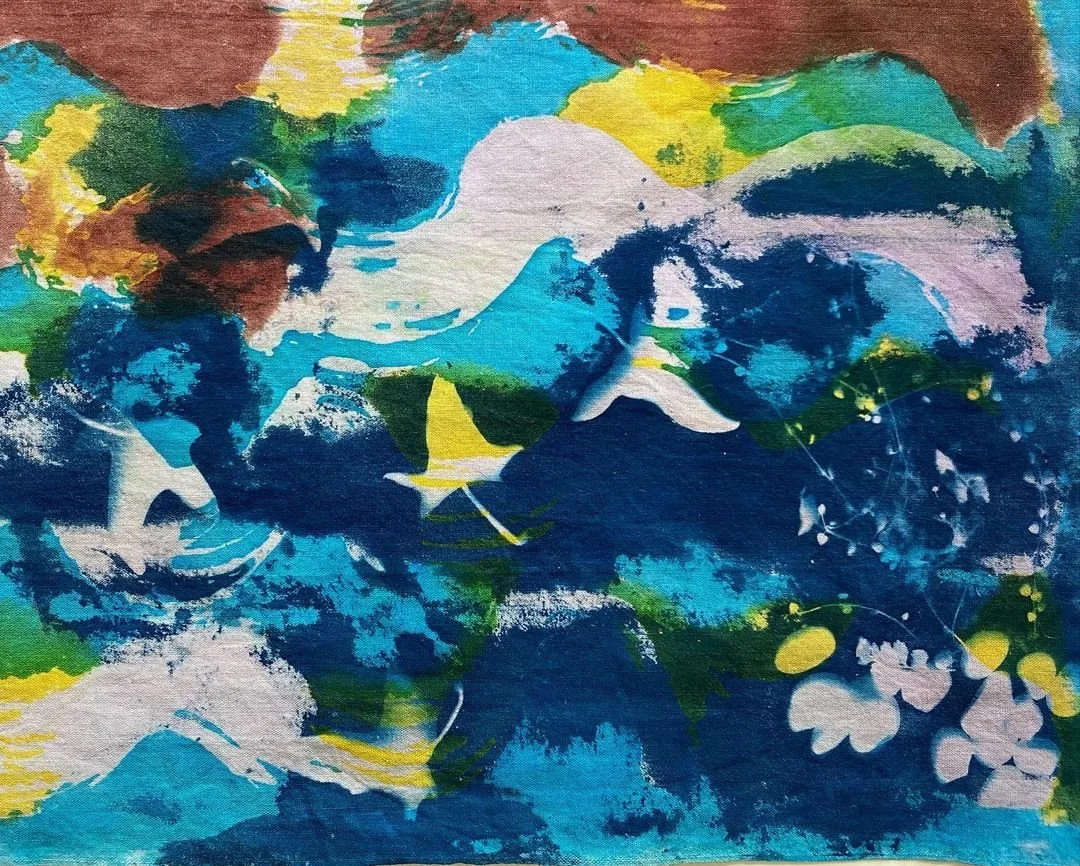
The above were the first few pieces made. They were dyed several times, one of the times using a Shibori method of clipping and rubber-banding. This method results in the dye not colouring the areas that are clipped and banded. The crackling method of painting wax on and scrunching it up were also used so that the dye seeps through a bit.
In the last image, the colour is very faint because sodium silicate – the chemical that keeps the dye in the fabric, was not used. The orchids were traced from a basic outline, and the traditional mega mendung (cloud) motifs were added, using the dyeing techniques mentioned above.


It’s really satisfying using the canting (wax applying tool) for many reasons— the gentle scratching sound it makes as you draw on the fabric, the way you have to internalise this balance between not putting in so much wax that it spills out versus putting enough so it stays hot enough to remain liquid.
Sometimes, I don’t keep this balance and the wax runs over what I write. As you can see in the first image, a sentence I wrote turned into birds on a branch beneath the moon. This writing and hiding worked for me as a sort of therapy. I spent some time just writing whatever my hand felt compelled to script, and sometimes they’re just random alphabets. Other times they’re my thoughts. Images 2 to 4 are pieces I made recently where I buried my thoughts into themselves like of waves, and by the time they washed to shore, they were just abstract marks — thoughts turned to foam.


After colouring a fabric with dye, we have to keep the colour in with a fixer – either soda ash or sodium silicate. I’m pleased to have discovered some techniques while painting with wax and dye and sodium silicate. In the first image, I used dye first then I painted over with wax, without putting a fixer. Next, I painted the fabric with sodium silicate. When I boiled it the next day, some of the unfixed dye under the wax remained surprisingly.
Next I submerged it all in yellow. I really like this piece. It was meant to be a gift for my mom but I made her another piece.
With the other pieces, I tried one step differently. I painted with dye, fixed it with sodium silicate and then either applied wax with the canting or with a brush. I like the texture from the brush strokes of wax. As you know, where there is wax there is no colour. So it’s like painting an absence.
I don’t really like how the piece in the third image looks like a volcano— I was trying to make a tree with another tree growing underground. I realise when the wax line is too thick, it holds a cartoon-like look. What I like about it is the strokes of one half, the yellow-green tree. When I painted wax over the dye, I also scratched into the wax with the canting. I like the texture it created. It feels energetic to me.


Another thing I did for the first time is Cyanotype printing. Thanks to my fellow residency mate Rusydan for showing me how and letting me use his stuff! The first image is of my first try. I picked three photo negatives, images from Rusydan’s Indonesia trip — padi fields and the ocean. I looked around at what other items I could add and chose a leaf and a ruler. During that time I was thinking a lot about control and nature... The second image shows the print before I washed the chemical off. What a difference! I love the big accidental blob in the middle... it was from blow drying the Cyanotype chemical.
The next few images show steps I took in making a second print with transparencies (cut out from larger images made by my friends Zach, Chun Sing, and Zai), and then finally batiking over it. Sadly that last step washed most of the Cyanotype away but you can see faint lines if you look closely. Perhaps it was the hot water soak? I reversed the steps and did Cyanotype over batik, and it was fine. You can see a close-up of that outcome in the last image.


Mistakes are made for new life to emerge. This shows some pieces I really, really don’t like, except the one in the last image which makes me very happy. Image 3 is of the very first piece I did (image 6 shows it with wax). I traced a diagram I had my dad draw of his moral obligation universe, showing where his care lies for different groups (ie. neighbours, trees, terrorists). The big mess you see has pockets of light shining through cos of the bright yellow and cyan that was never dyed over.